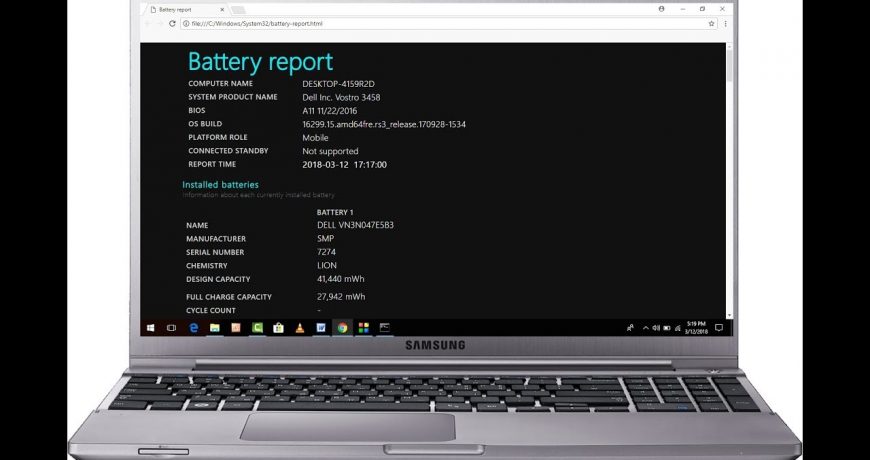
Battery Testing for Windows Laptops
Battery Testing for Windows Laptops
If you are having problems with your new battery we may ask you to assist us with some basic diagnostics to confirm a fault with your battery. Please follow the steps below and email us any screen shots and log files by replying to the email we sent you requesting this information.
Please note that the following steps are for Windows laptops only.
1. Download the BatteryInfoView utility to your desktop. This is in a ZIP format.
2. Extract the Zip file by double clicking on the batteryinfoview.zip icon (If you are using an older version of windows you may require a 3rd party application in order to extract the zip file). We recommend extracting the file to your desktop for easy access.
3. Ensure that your battery is fully charged and that your Laptop Charger / AC Adapter is connected and powering the laptop.
4. Close any applications you may have running.
5. Start the utility by opening the BatteryInfoView Folder and double clicking the BatteryInfoView.exe application icon.
- Open the battery utility
6. Maximize the BatteryInfoView utility to full screen by clicking the maximize button.
- Maximize the BatteryInfoView utility window
7. Take a screenshot of the BatteryInfoView screen by pressing PrtSc (Print Screen) and then paste the captured image into a Word document or MS Paint. Pressing Window+PrtSc on Windows 8 and above will save an image to your pictures/screenshots folder. More info on how to take a screen shot can be found here. This screen will provide us with important battery information as well as the current wear level of the battery.
8. Disconnect the charger / AC Adapter and wait for 60 seconds. This will allow the utility to re-calculate the battery usage figures.
9. Take another screenshot of the BatteryInfoView window.
- Take another screenshot of the BatteryInfoView window
10. Click “Options” in the menu bar and then choose “Advanced Options” (or press F9)
- Click
11. Tick the box that says “Add battery log lines to the following filename” and enter a filename in the box below. “battery_log” is sufficient. The file format should remain “Tab Delimited Text File”
- Create a Log File
12. Click “View” in the menu bar and then choose “Show Battery Log” (or press F8)
- Display the battery log window
You will now see the battery log screen. A new line is added to this log every 60 seconds as well as written to the log file which we created in step 11. This will show us information such as the battery capacity, rate of discharge and voltage over a period of time.
- Battery Log Screen
13. Now you can minimize the BatteryInfoView and continue to work as normal allowing the battery to drain. It is important that you do not close the BatteryInfoView utility during this process or the log file will not contain the information required.
14. Once your battery reaches a low level (5% – 10%), connect your Laptop Charger / AC Adapter, maximize the utility and then close it.
15. Please email us the two screenshots captured in steps 7 and 9 as well as the log file that was generated. You should find this in the same folder as your BatteryInfoView utility.
16. This is a free utility and you are welcome to retain it on your laptop for future reference, however should you prefer to remove it, simply drag the BatteryInfoView folder to the Recycle Bin.


